A Chess Board
Dec 2013A chess board is an interesting project partly because it seems so simple but really isn't. I thought I'd walk through the steps to make one for my son.
1. Slice some ash into thin pieces. I'm preparing to make ash plywood for a stable core.
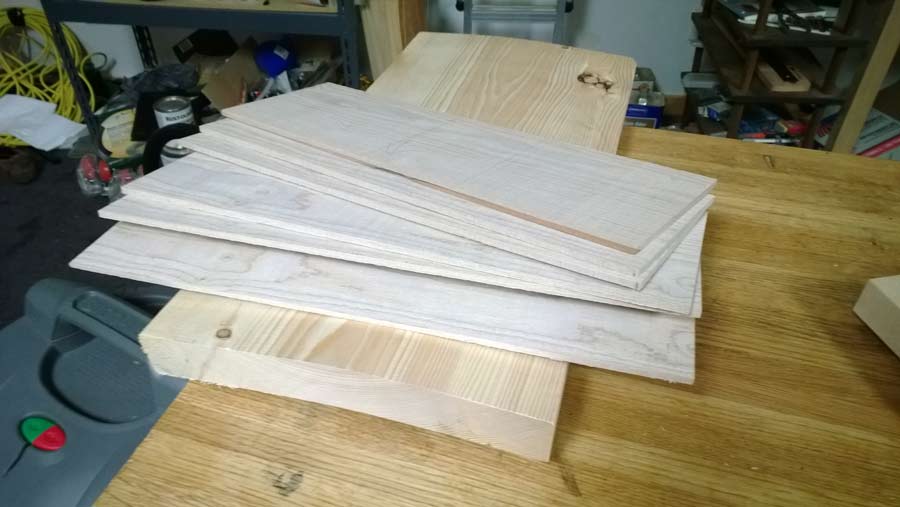
2. Glue the ash together at 90 degree angles between layers. This creates a stable chunk of plywood. After glueing it I run it through the planer to make it flat.
3. Glue cherry veneer to the bottom of the ply slab. Now I've got slab that's pretty on one side.
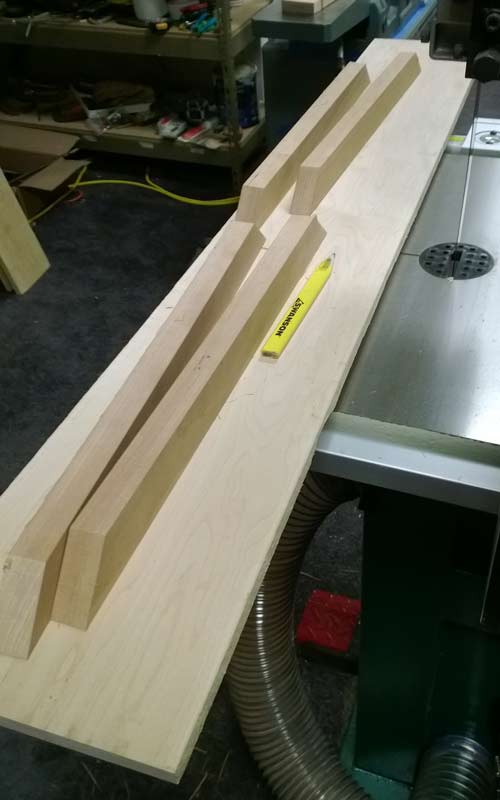
4. Joint then plane then cut four pieces of solid cherry to make the sides of the frame. Cut slots on the inner pieces to fit the ply chunk into as if making a picture frame.
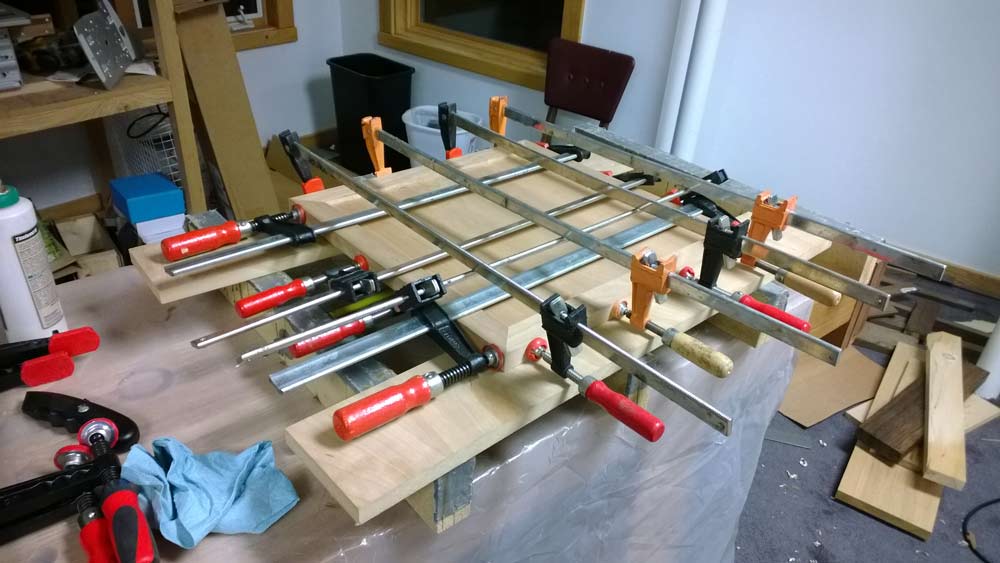
5. Glue the slots of the frame sides and insert the ply then clamp it all together. Now I've got a cherry-framed block that's cherry on one side and ash on the other.
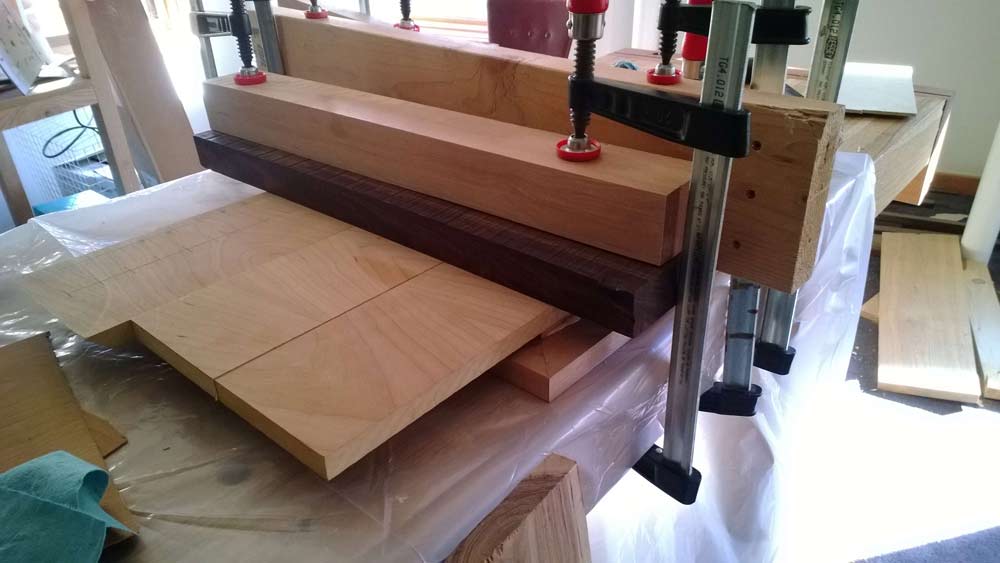
6. For the chess squares, joint and plane a piece of mahogany and a piece of maple then cut them into 2" wide lengths and glue up four lengths together.
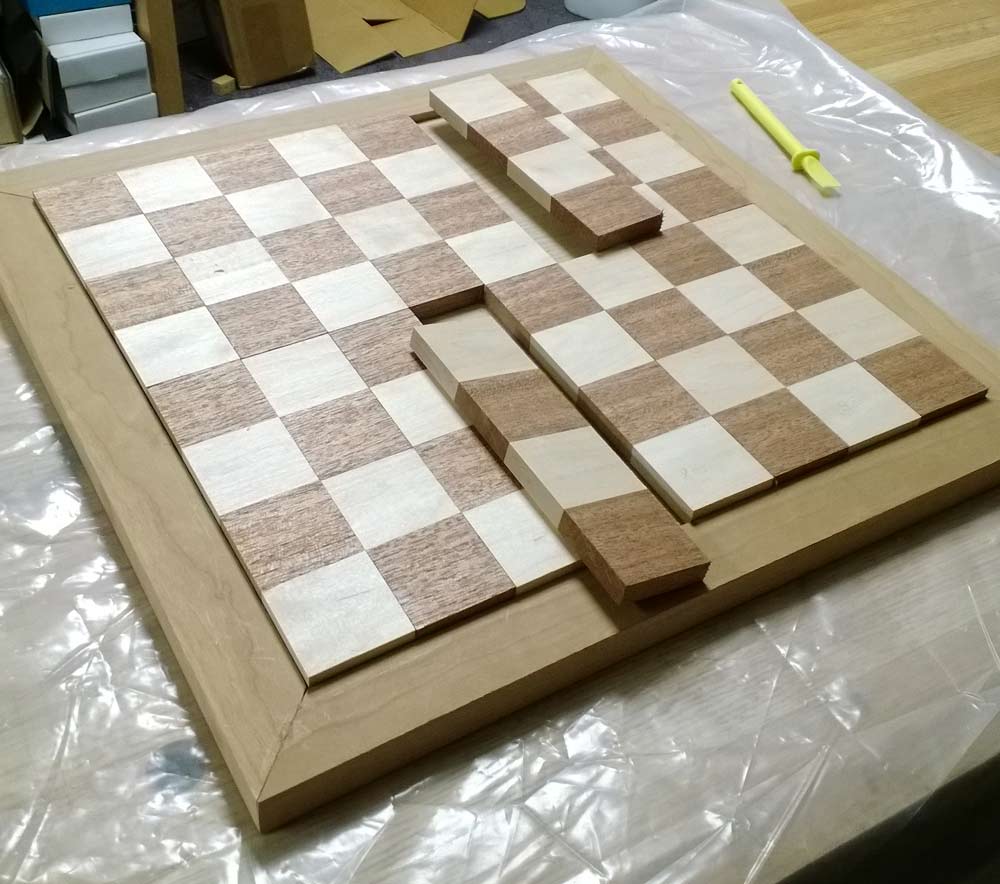
7. Cut the long piece of mahogany-maple into 2" slices and place the slices into the frame on top of the ash plywood.
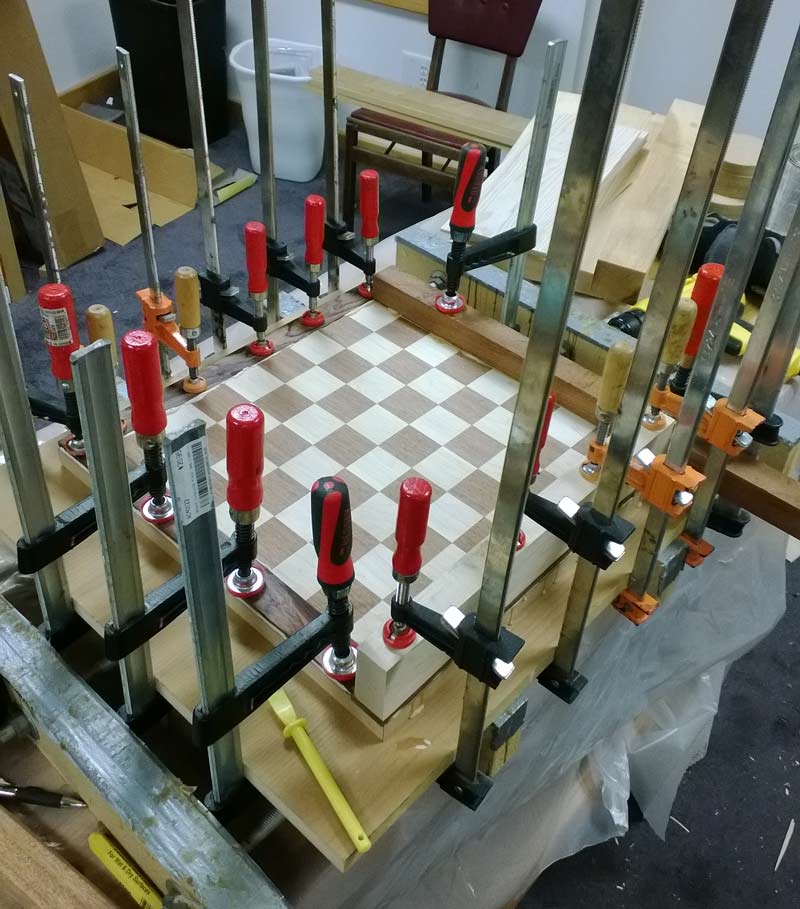
8. Glue the square-slices into the base, clamping solidly. I taped a piece of plywood under the frame (where the cherry veneer shows) to fill the gap and avoid bowing the entire assembly during clamping.
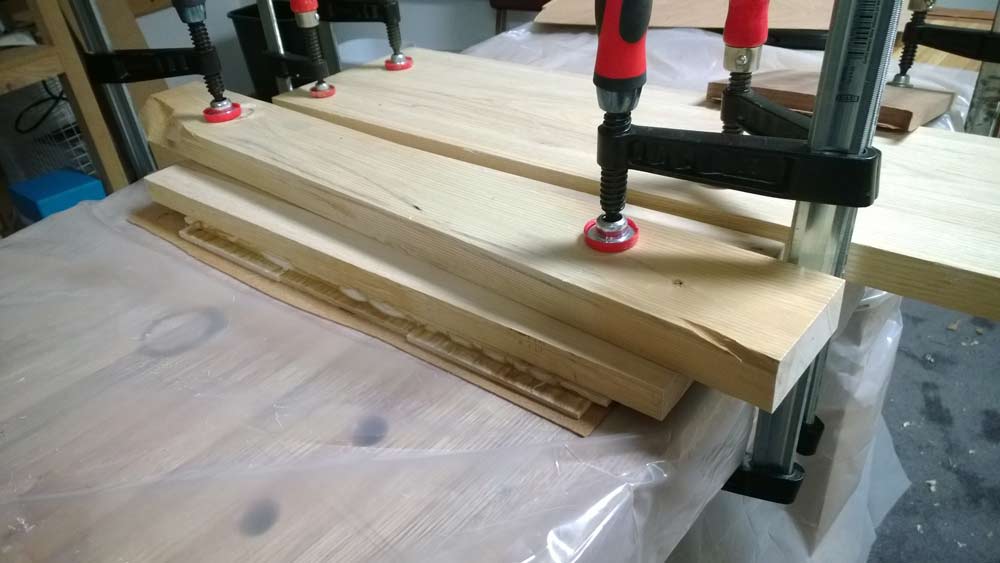
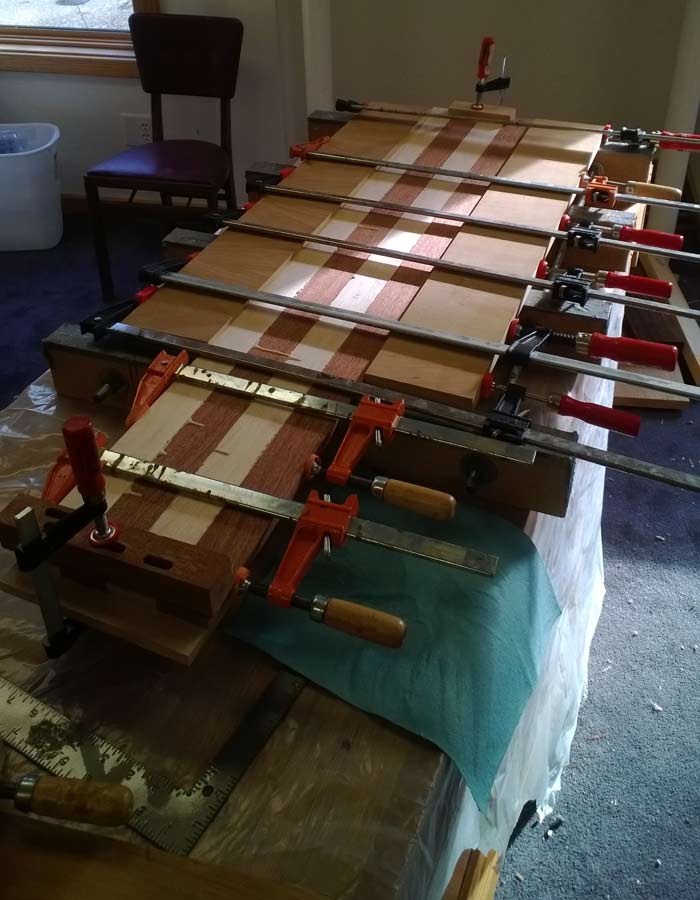
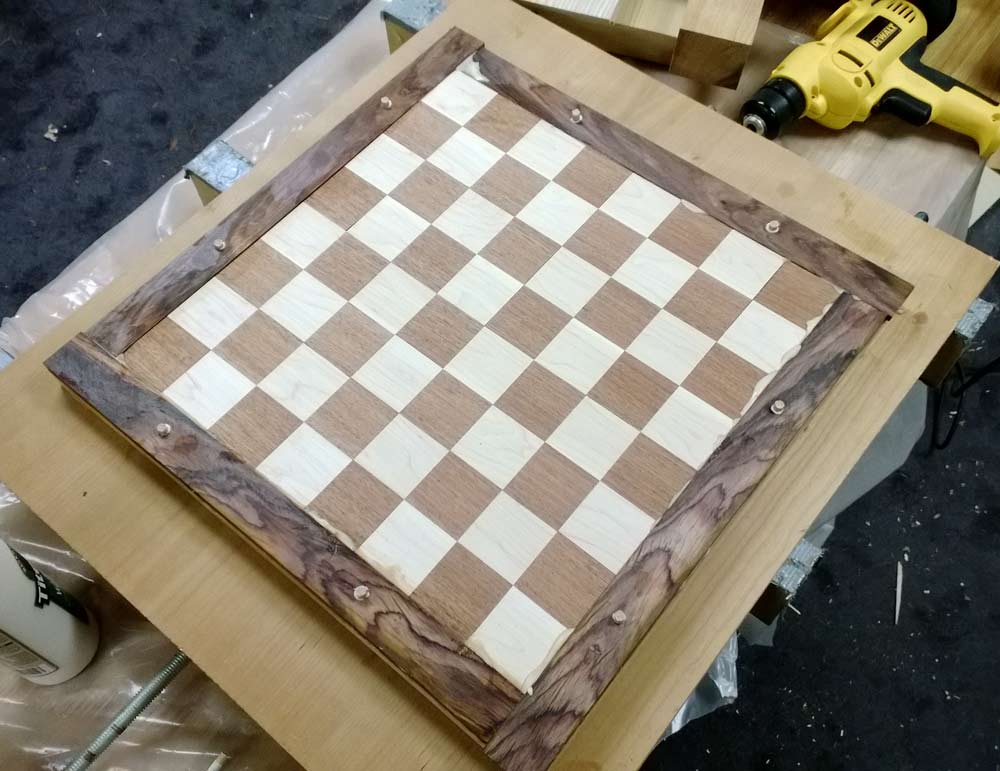
9. Cut and carefully plane 4 strips of purpleheart to use as a top reframe. I wasn't that happy with the cherry frame top and wanted something with more pop. Also, the squares had some gaps around the outside that I wanted to hide. In this photo two of the strips are already dry (the two without clamps) and the other two are glueing. I wanted to avoid any slippage.
10. Once the top frame is dried I drilled 8 holes for oak dowels to pin the purpleheat permanently down even if the glue wants to release. And... it looked pretty cool. Here's the result after inserting the dowels.
Finally, I trimmed the dowels and sanded it down to a 240 grit. I put two coats of Watco Danish Oil (clear) and then 3 coats of wipe-on poly. After that I sanded it to 320 grit and used coarse and fine pumice stone for a final sanding. I then applied two more coats of wipe-on poly.
The lighting in this picture is a little uneven, but you can tell what it looks like.
