Home Automation
November 2016
When i originally built my house in 1998 i set it up for rather serious home automation. At the time there wasn't much wireless around and wireless has security issues so i hardwired virtually everything.
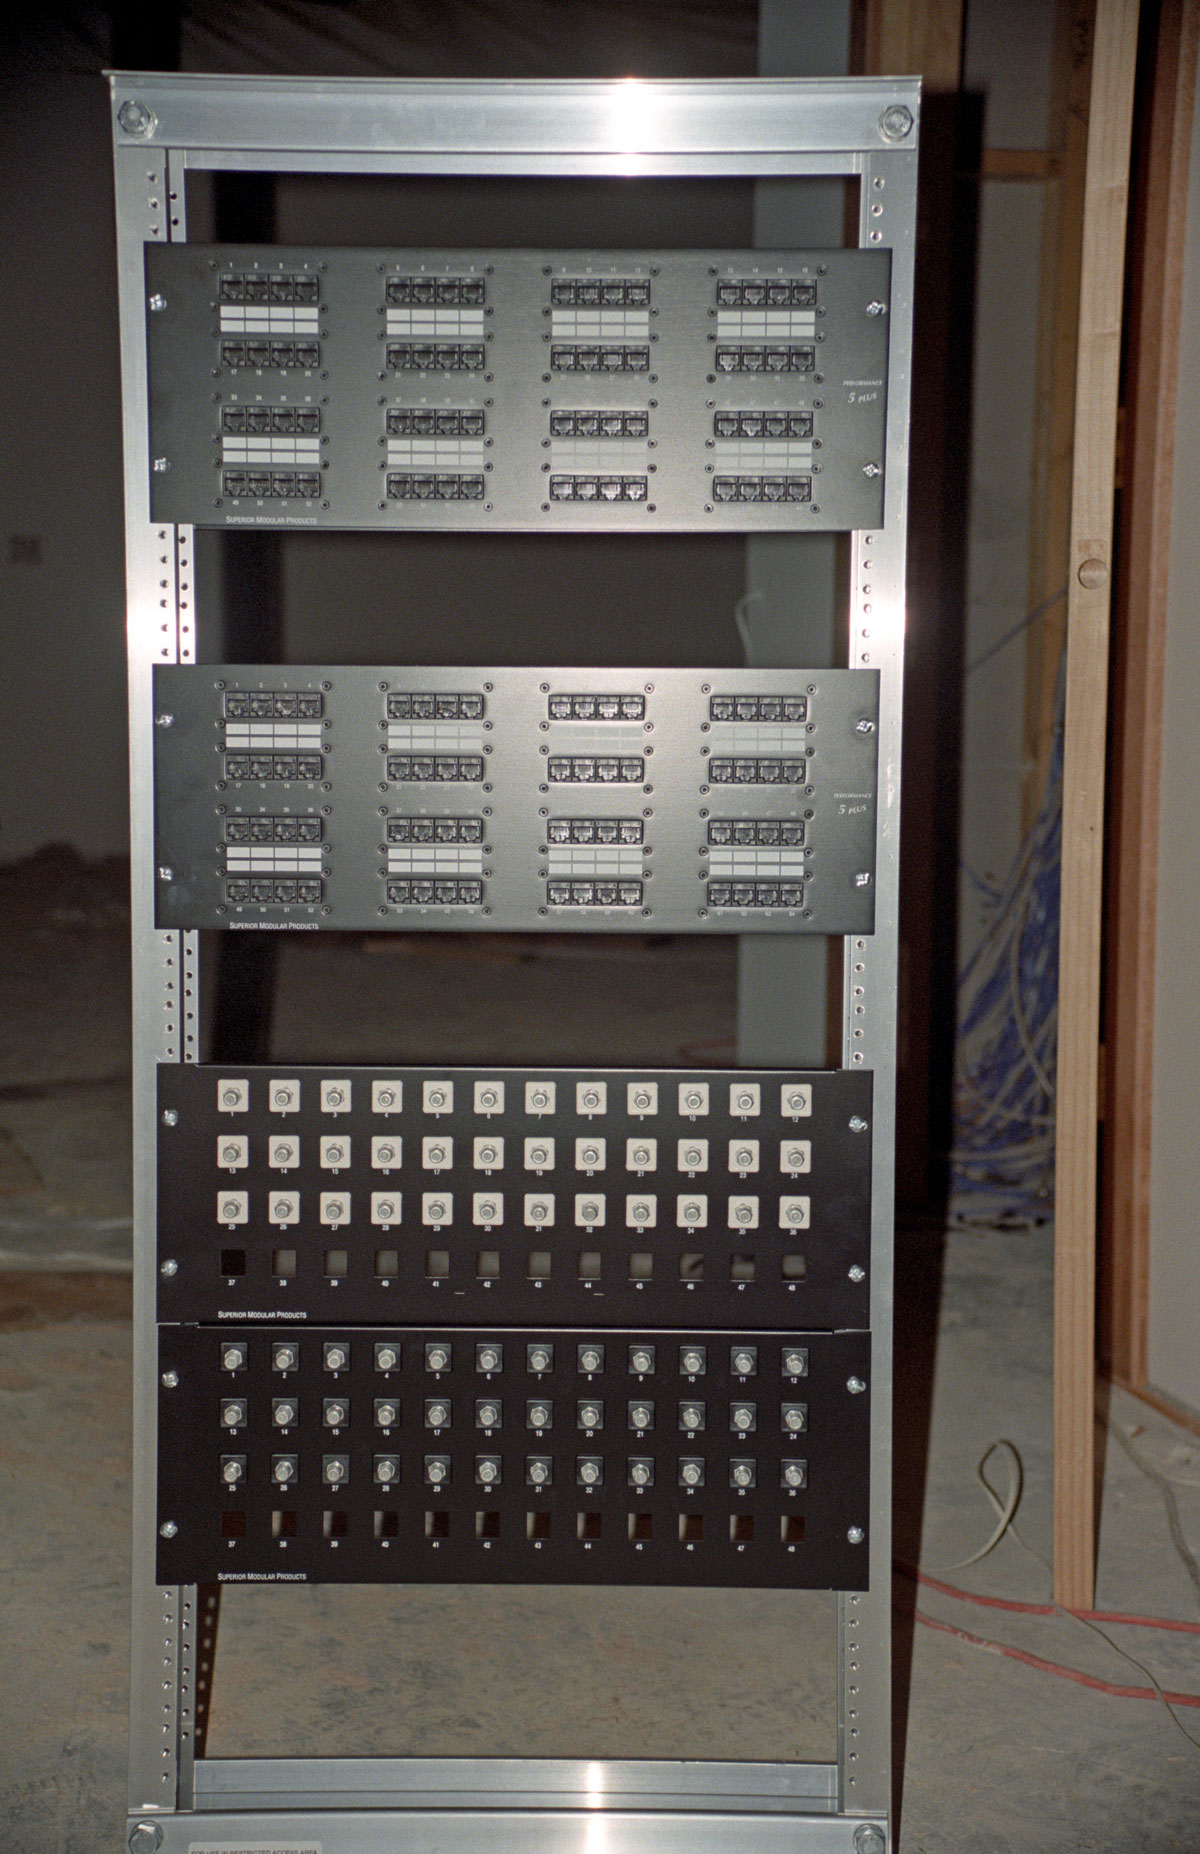
Home Network
The house has two Cat5e (almost Gbit) network connections and two Cat5e phone connections and two coax video connections in every room.
Here's a picture of the basement wiring bay:
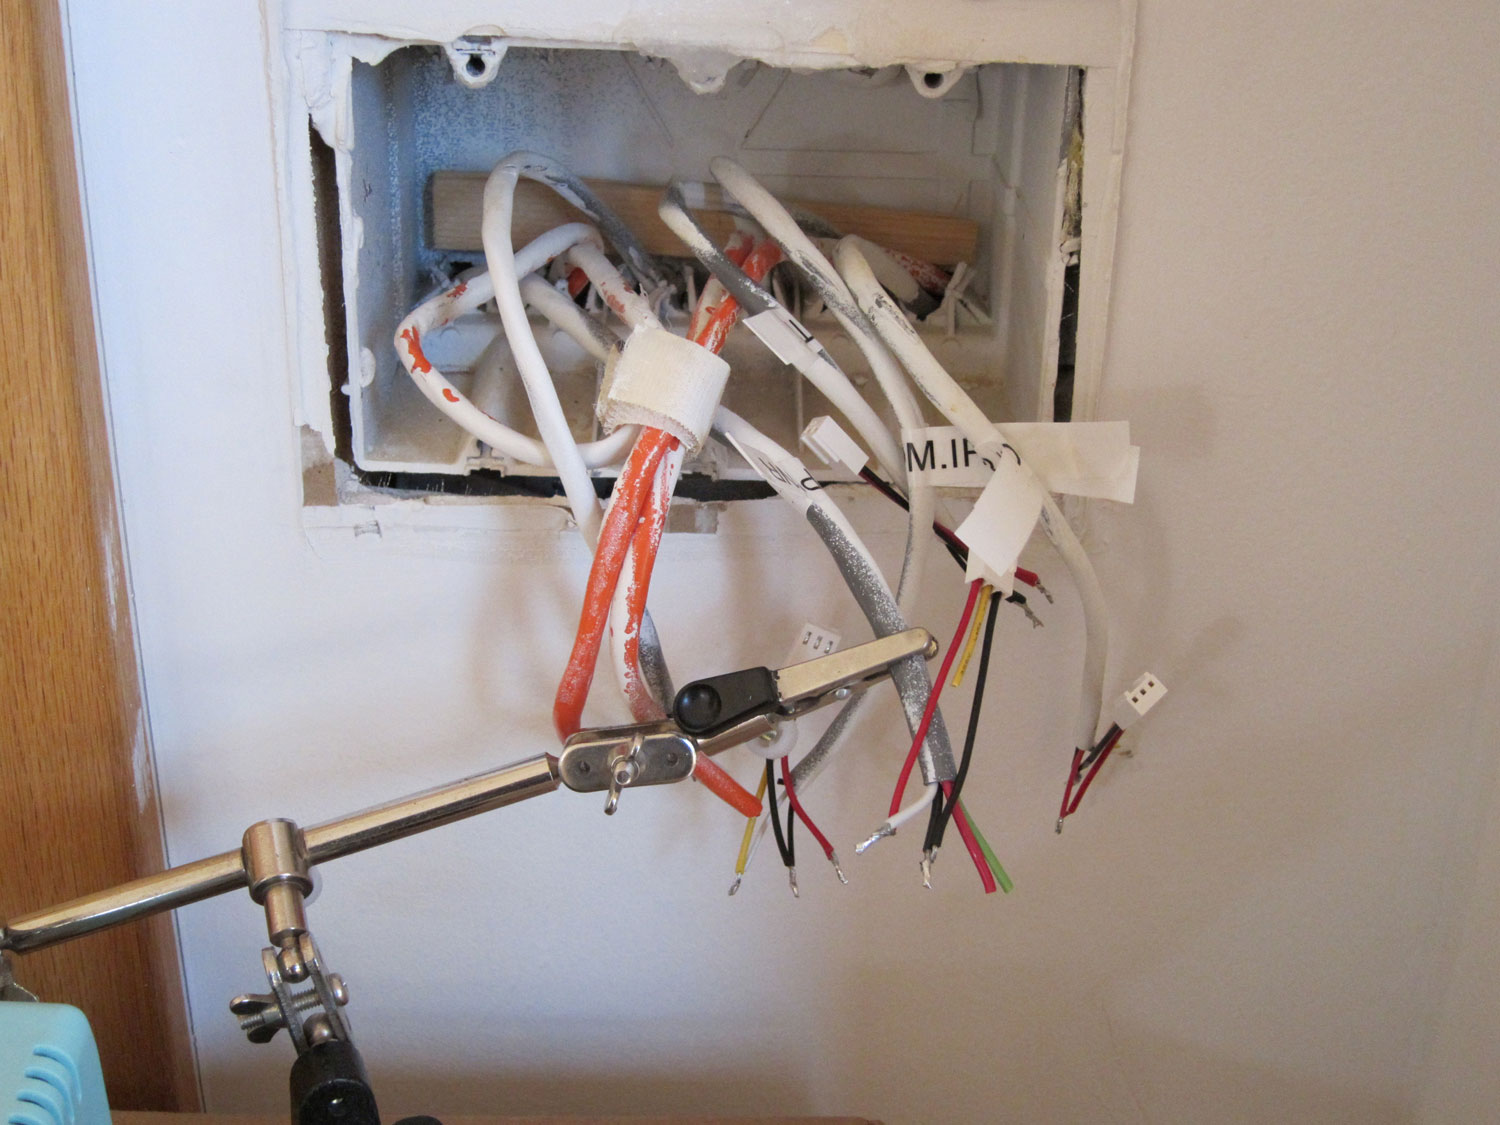
In addition, each wall has a thermistor embedded in the center. The thermistor wire goes to a central 3-bay switch outlet in the room. Each room also has stubs for occupancy sensors mounted near ceilings, with wires run to the same switch outlet.
The switch outlets have been sitting there doing nothing for almost 20 years now and I decided it was time to finally occupy them, now that technology has caught up with the design.
Here's a picture of a typical switch box:
Vintage 1998 Processor
My original design for these was a now-primitive processor with C code and a simple mono display and a few buttons. The board looked like this (top and bottom):


This design required reprogramming via an Eprom eraser (see the tape on the top of the processor) and then burning new software via one of the RJ8 jacks on the right. Really tough. This design also used +5 and +12 power to the tune of about 2 watts.
Finally there were surface mount chips on the top and bottom so yuck.
Vintage 2008 XBee Design
By 2008, when i moved back into my home, i decided to use an XBee processor that spoke an early Zigbee dialect. This was barely programmable (mainly it would echo readings) and it was incredibly painful to update since that required a hardwire connection.
The XBee firmware was also getting rev'ed frequently and it was still pretty buggy. I ended up tossing this since i couldn't rely on it and Zigbee was just too flaky. Finally it was just too primitive to program and wasn't going to be upgradable to do what i wanted.
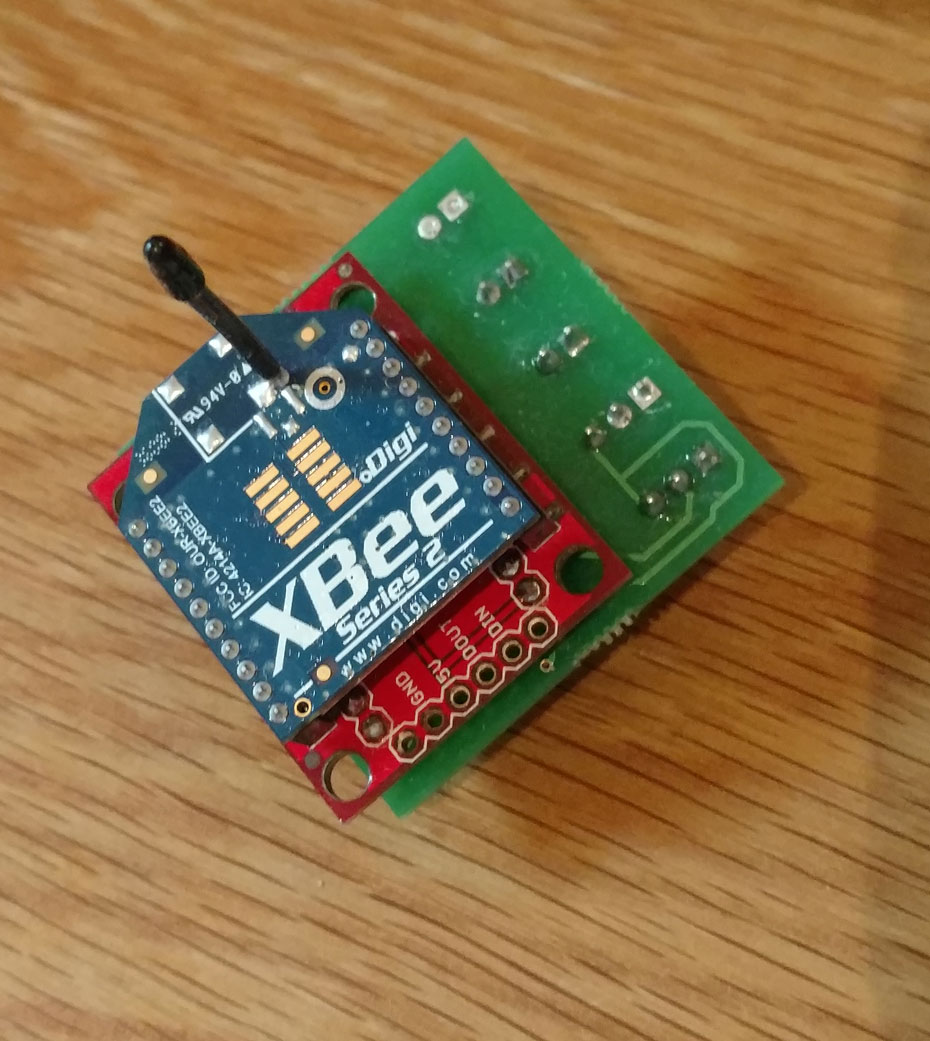
Current 2016 Photon Design
My current design uses a Particle Photon chip. This talks to the cloud (so it's rather verbose on my 2.4 Wifi, which is a downside) but it's easily reprogrammable and secure.
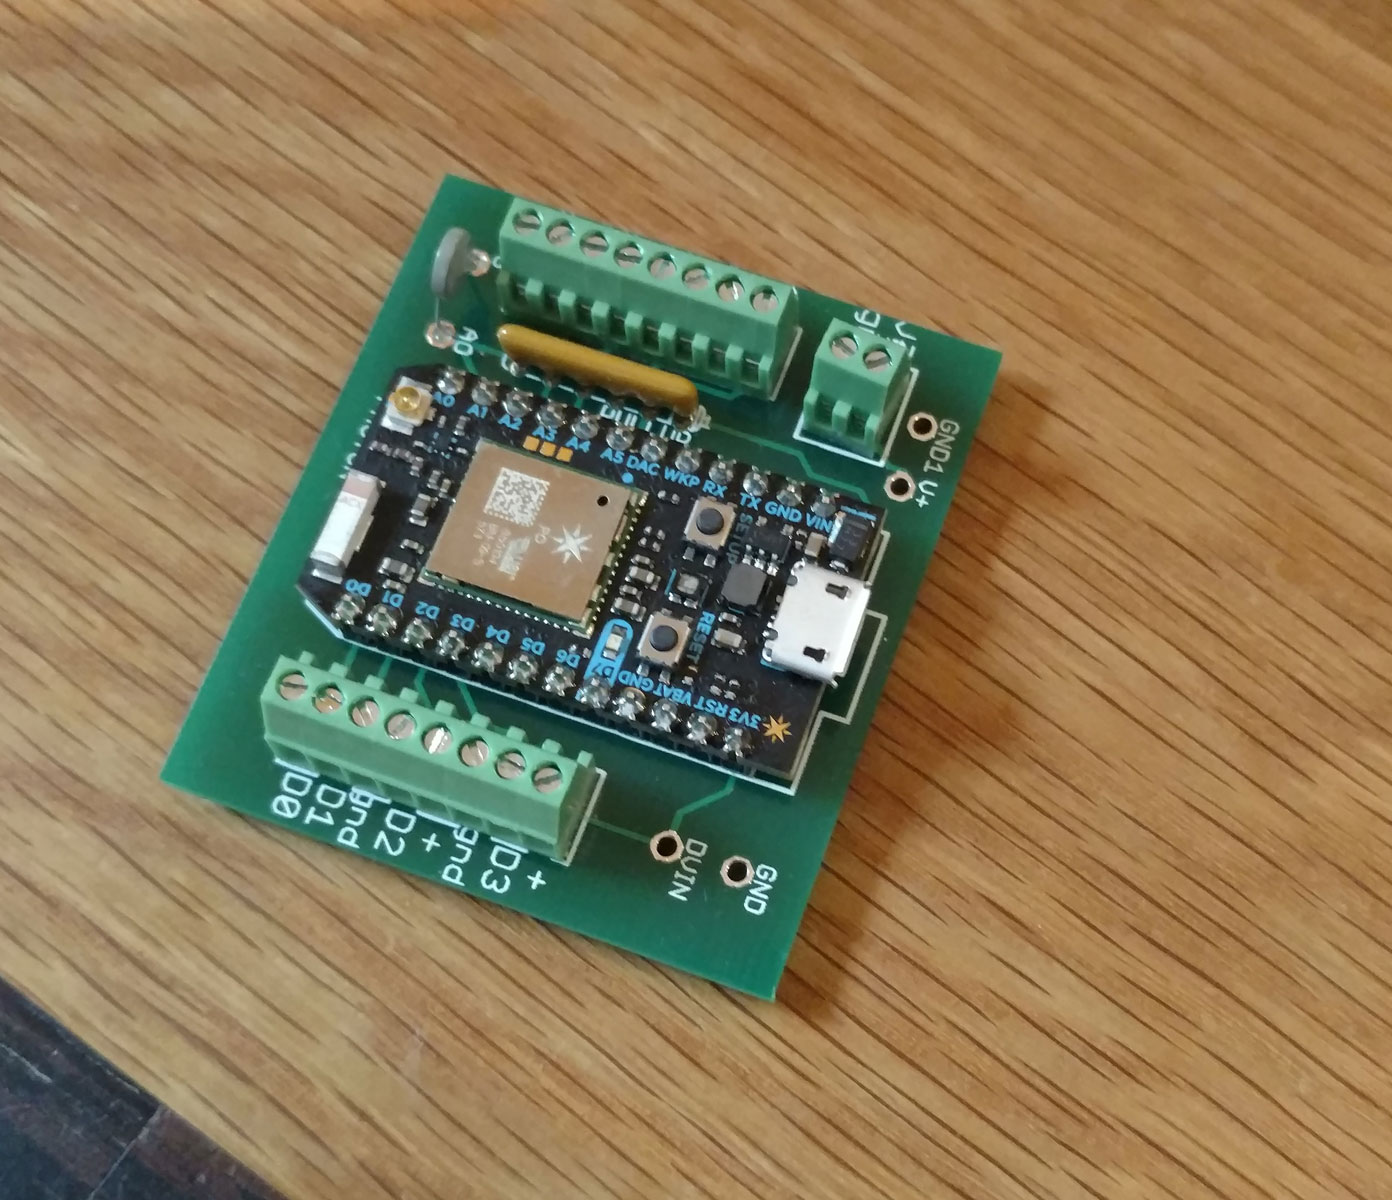
I started using a Spark Core chip (the early Photon) but it was pretty ram-limited and had wifi reliability issues. The Photon seems extremely robust. I'm hoping they go to some mesh network at some point, which would be better for my wifi. Still, the photon is Wifi-careful and not too talky.
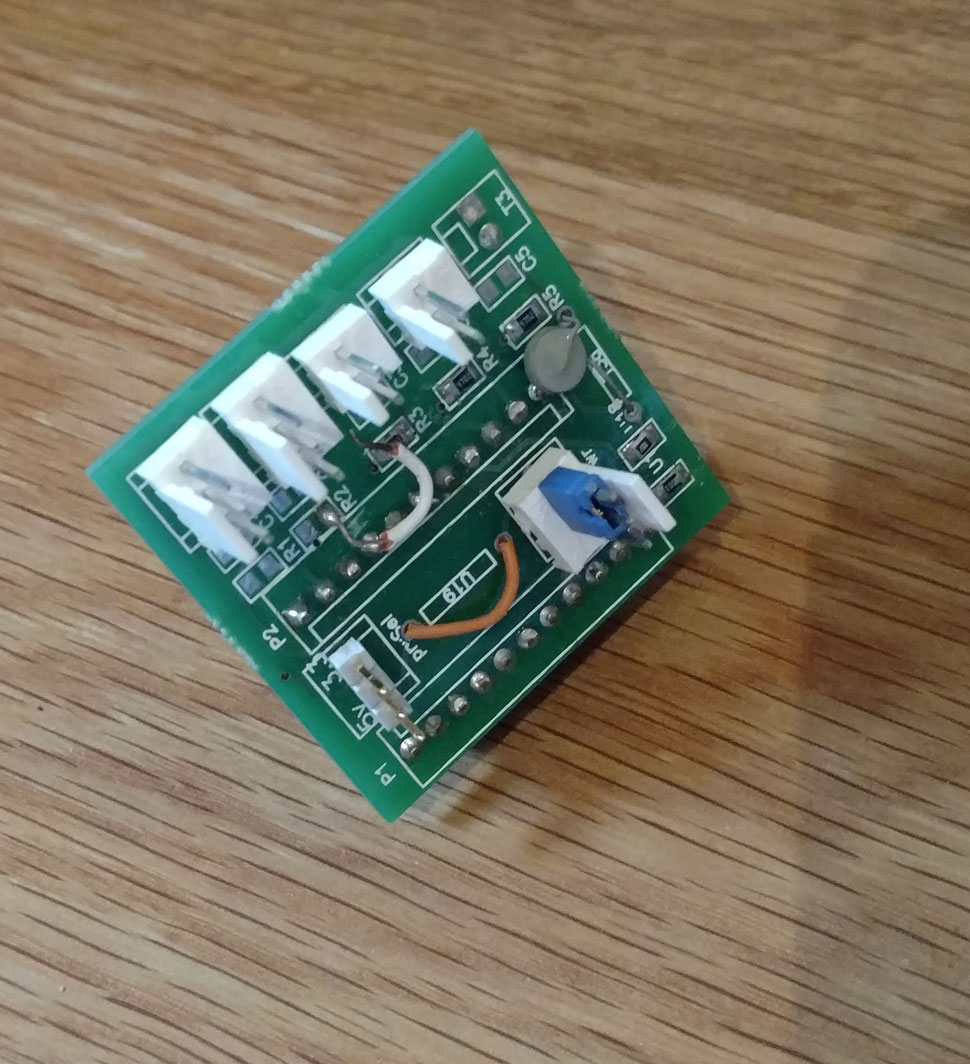
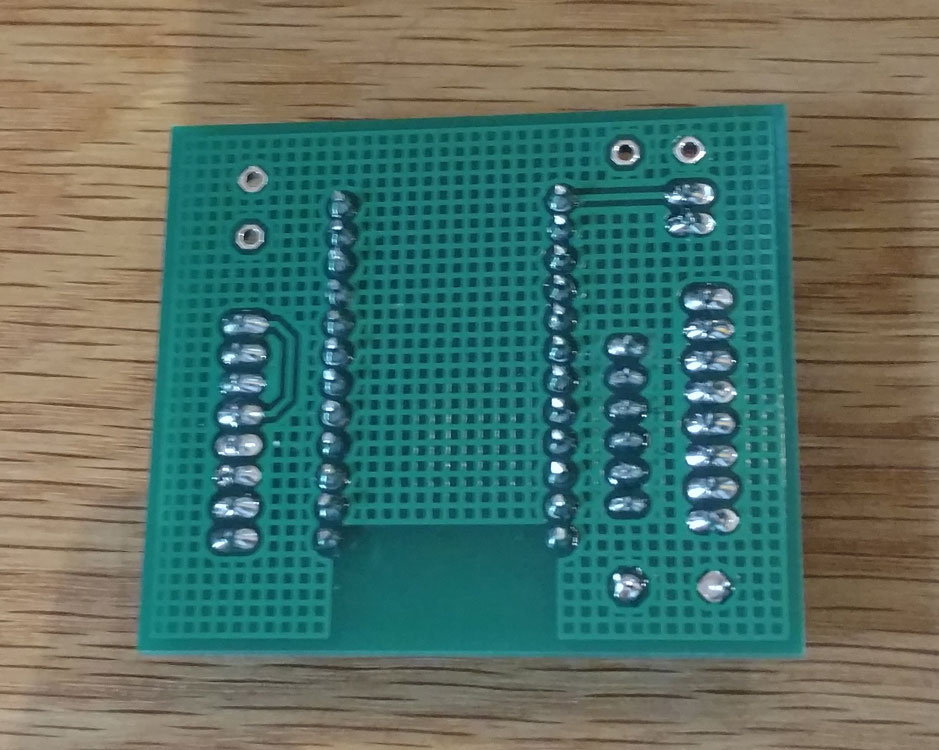
As you can see, the bottom of this board is really pretty, just ground plane. I ended up using screw terminals since it's simplest to connect and disconnect and no soldering required.
The left side of the board connects up to 4 occupancy sensors (though two work optimally) and the right side of the board connects power and up to 4 thermistors. In addition there's one on-board thermistor at the bottom.